Luma Game Guide
Telemount Walkthrough: All 15 Test Chambers
Verified keyboard controls, a direct first-chamber route, progressive hints for every level, and a source-safe way to play Hempuli’s portal puzzle.
Quick answer
Quick Answer: Controls and First Things to Try
Use the arrow keys to move and push. Press Z to undo one move and R to restart the current chamber. There is no separate grab or portal button: placement happens through movement and pushing. Before resetting, use Z several times; a bad portal angle is often recoverable if you undo it immediately.
- Arrow keys: move the character and push movable pieces.
- Z: undo the latest move; repeat it to walk back through a sequence.
- R: restart the current chamber when the position is no longer recoverable.
Telemount is a short HTML5 block-pushing puzzle by Hempuli. The public itch.io listing identifies it as a released browser puzzle, and its comments already contain real requests for a walkthrough and help with Level 1. Luma checked the live game on July 20, 2026 instead of inferring rules from the listing alone.
The live build contains 15 test chambers after the title room. The core loop is to push boxes and portal pieces, mount linked portal faces against usable surfaces, and reach the flag without losing a required piece behind water, walls, or hazard marks. This page does not copy or embed the itch.io game file; use the official creator page in the source section to play.
Verified game views
These views come from the HTML5 build on the creator’s official itch.io page, captured July 21, 2026.
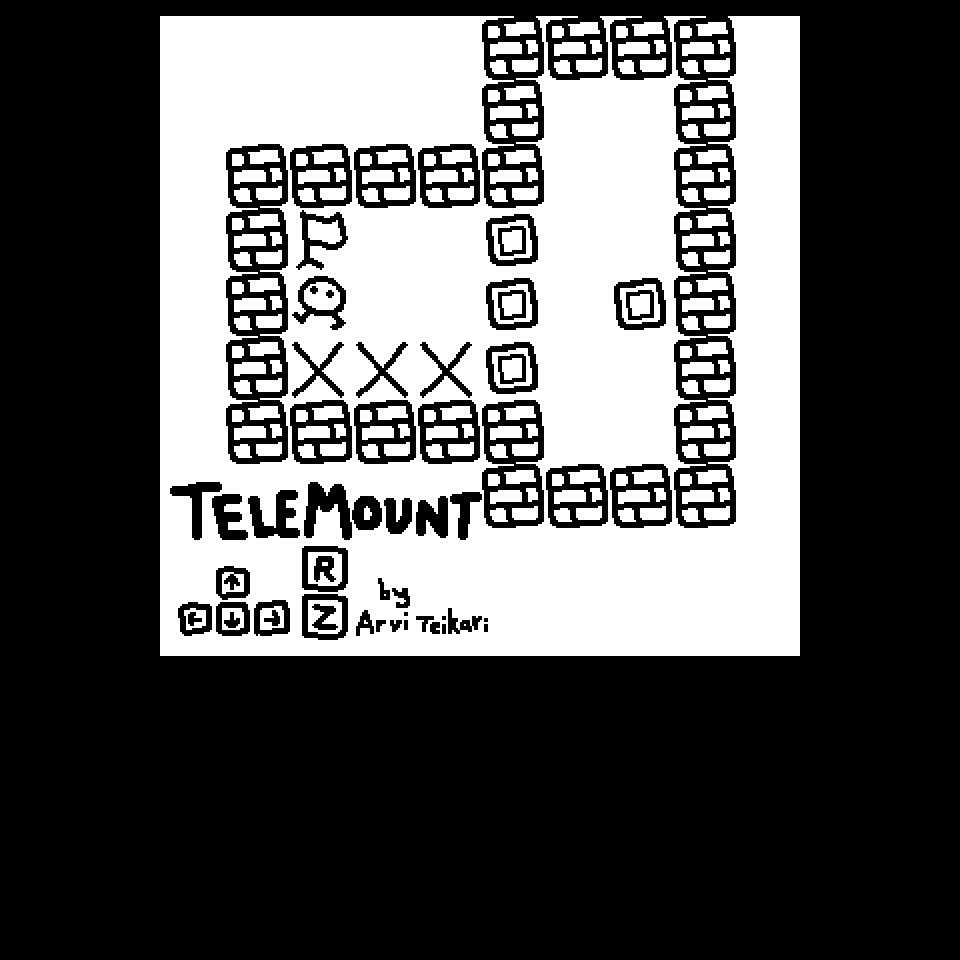
Official HTML5 title room. The canvas itself shows arrow-key movement, R to restart, and Z to undo.
Verify official source ↗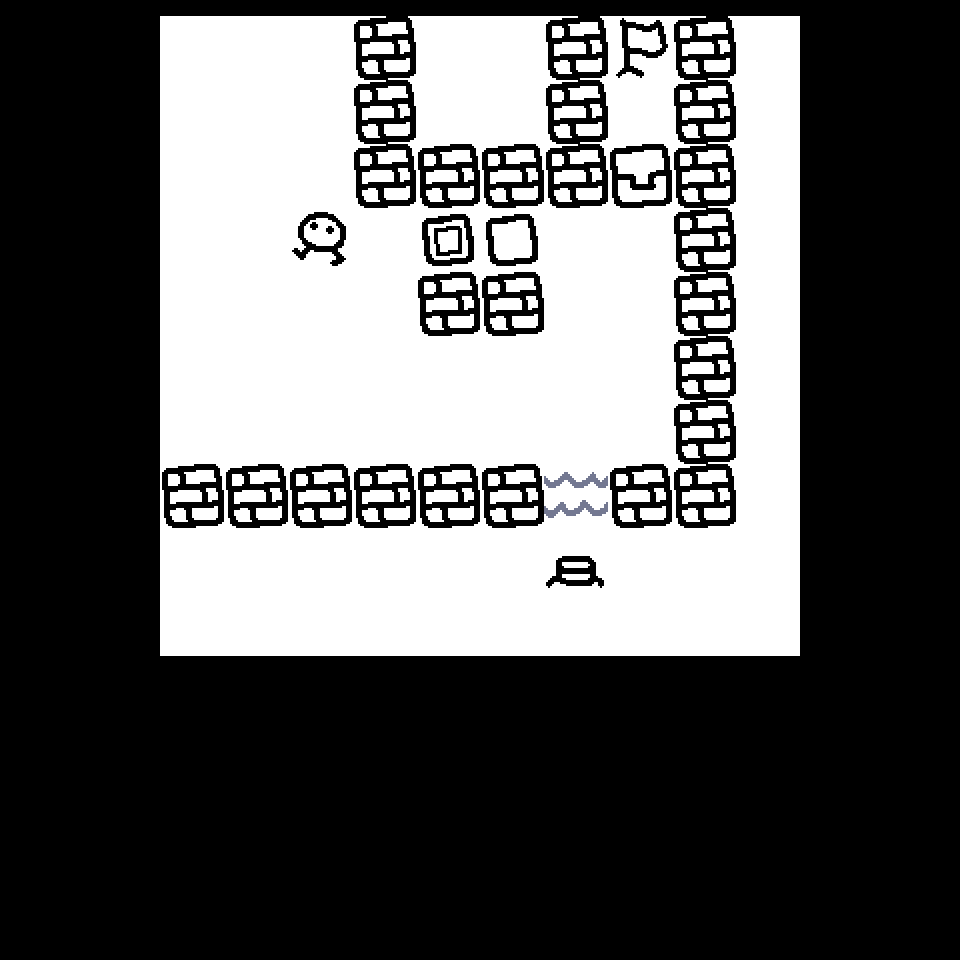
Level 1 starts with the player above the water barrier and the flag inside the compact upper room.
Verify official source ↗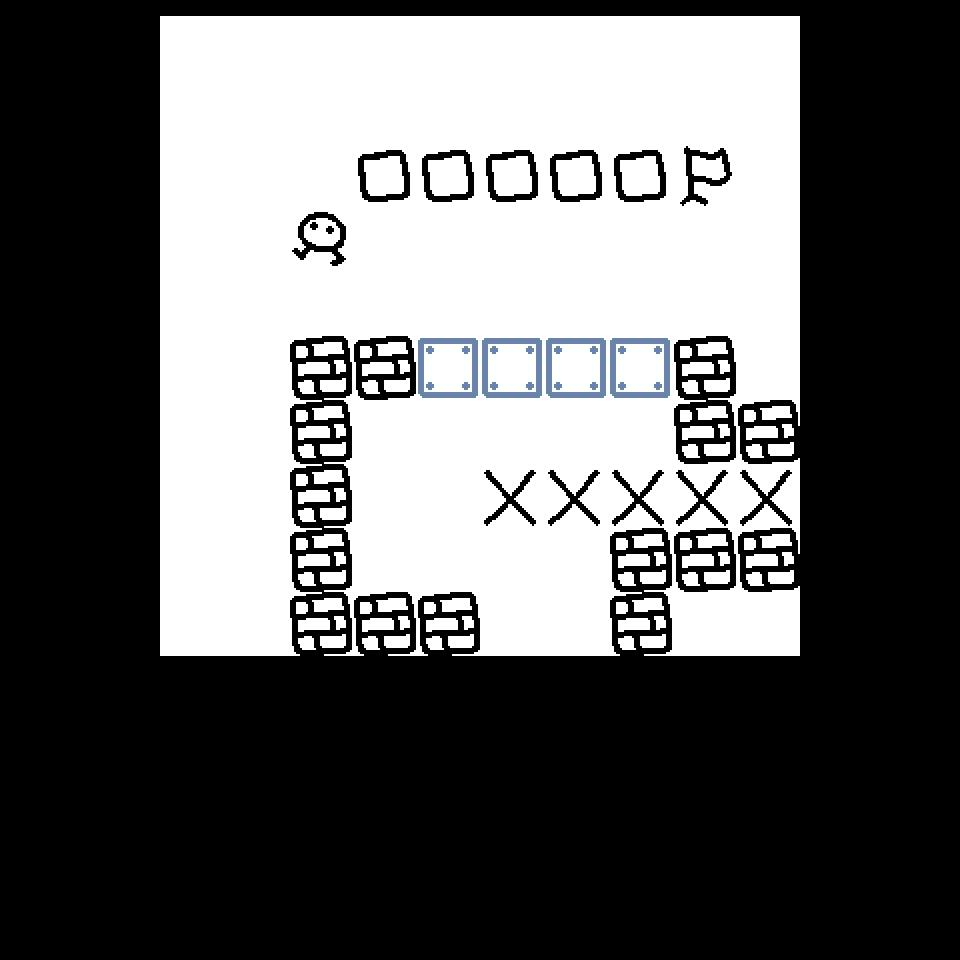
Level 2 makes the sequencing problem visible: movable blocks above, blue panels in the middle, and hazard marks below.
Verify official source ↗How the Portal Puzzles Work
Treat every chamber as a Sokoban-style positioning problem with paired portal faces. A portal is useful only when its entrance, exit, and facing direction leave a walkable square. Boxes are not just obstacles: they can provide spacing, prevent a portal from being stranded, or let you change which surface receives a portal. Water, walls, blue panels, and X-marked hazards divide the board into zones, so solve the destination side before committing the entrance side.
- Identify the flag room and decide which wall face can deliver you there.
- Keep at least one square behind a movable piece so it can still be pushed again.
- After every portal move, check where both the player and the remaining boxes can exit.
Level 1 Direct Solution
Level 1 teaches the complete loop. Move the loose pieces out of the small central brick pocket, then use the open left side to get the portal faces onto useful walls. Seat one opening in the lower boundary and line its linked opening up with the enclosed flag room. Keep the plain box out of the entry lane. Once both openings face walkable squares, step into the lower portal and you will emerge inside the flag room.
- Do not push the plain box into a corner; it is spacing, not the final target.
- If a portal sits on the correct wall but faces a blocked square, undo before moving anything else.
- The chamber ends when the character reaches the flag; the box does not need to touch it.
Levels 2 to 5: Build the Exit Before the Entrance
These chambers add longer block rows, blue panels, water, narrow walls, and more than one plausible mounting point. The reliable order is destination first, transport second, entry last. If you enter a portal before confirming the exit square, you may cross a divider but leave the only movable piece on the wrong side.
- Level 2: preserve one free lane beside the aligned blocks; use it to correct the portal facing before crossing the blue strip.
- Level 3: the water cross separates the board into routes. Prepare the far-side exit, then use the near-side portal only after the return path is clear.
- Level 4: use the narrow vertical wall as the stable mounting surface. Do not trap the loose box between the wall and an X-marked square.
- Level 5: choose the portal nearest the flag as the destination. Move the remaining pieces in reverse order so the final entrance stays reachable.
Levels 6 to 10: Preserve a Recovery Square
The middle chambers punish irreversible pushes more than they punish slow play. Mentally reserve one recovery square beside every portal or box. If a move fills that square, decide whether the piece is now in its final position; if not, undo. This is faster than discovering ten moves later that a portal is mounted on a surface you cannot approach.
- Level 6: route around the central divider first and keep the lower hazard row out of your push line.
- Level 7: move the four loose pieces as a queue, not a cluster; the rear square must stay open for the next push.
- Level 8: stage the far opening above the compact barrier before sending the player through the near opening.
- Level 9: use the long lower wall as an anchor and finish all low-side object movement before taking the high route toward the flag.
- Level 10: the water-and-hazard strip is the commitment point. Build the exit near the upper-right flag, then cross once with the route already complete.
Levels 11 to 15: Track Portal Pairs Separately
The final set combines split floors, repeated blue panels, compact corners, and eventually more than one labelled portal pair. Stop thinking of every portal as interchangeable. Track each pair by label and by exit direction, and solve one transport job at a time. A correct opening on the wrong pair does not help the route you are currently building.
- Level 11: move the portal set across the divided floor while a central recovery lane is still open; only then commit to the lower-right flag route.
- Level 12: treat the blue-panel chain as a sequencing test. Use Z after each experimental push so you never lose the last workable approach square.
- Level 13: keep the middle lane clear and use the small wall group as the final anchor; unnecessary box movement creates the deadlock.
- Level 14: solve the long chamber in phases: prepare the far exit, recover the transport pieces, then make the final crossing. Restart if a required portal is permanently boxed against the stepped wall.
- Level 15: A and B are separate linked pairs. Match each entrance to its own exit, verify the facing direction, and reserve the lower-right route for the final walk to the flag.
Undo, Restart and the Developer-Confirmed Skip
Z is the normal recovery tool and R is the clean chamber reset. Hempuli confirmed in the official itch.io comments that Ctrl+Q skips levels. Use that only when you deliberately want to bypass a chamber: it removes the learning step and can also conflict with browser or operating-system shortcuts. Do not press Ctrl+Shift+Q, which can close Firefox windows.
- Use Z for a recent mistake; it is safer than rebuilding the chamber from memory.
- Use R only after the required piece is genuinely stranded or the route is no longer readable.
- Ctrl+Q is a skip, not an undo. Avoid Command+Q on macOS because that quits the browser.
Desktop, Mobile and Browser Fit
The verified build uses a fixed square canvas and keyboard controls. No touch controls appeared during Luma’s July 20 mobile-layout check, so this guide does not claim phone or tablet playability. Use a desktop browser with a physical keyboard, click the game canvas once if keys do not respond, and avoid browser extensions that intercept arrow keys.
- Recommended: desktop or laptop, physical keyboard, and the official itch.io player.
- If arrows scroll the page, click inside the canvas and try again.
- Do not install APKs, extensions, modified clients, or mirrored game files to add touch controls.
Verification and Source Boundaries
Luma verified the live controls, counted the 15 chambers with the developer-confirmed skip, and compared the layouts with a complete community run. The creator page remains the authority for release status and future updates. The linked video is a secondary visual reference, not proof that every old route will survive a later build change.
- Verified on July 20, 2026: live HTML5 launch, arrow movement, Z undo, R restart, 15 chambers, and desktop keyboard layout.
- Creator-confirmed in the official comments: Ctrl+Q skips the current level.
- Not claimed: touch support, downloadable builds, permanent save behavior, or permission for third-party iframe reuse.
Featured Picks
Each recommendation opens a browser player from its detail page with no download required.
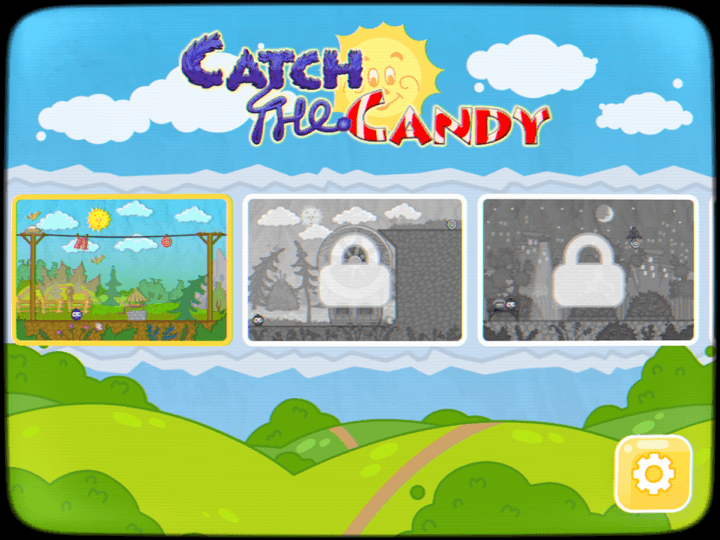
Catch the Candy
Catch the Candy is a friendly physics puzzle about using a stretchy grabber to pull a small character toward candy. Good attempts come from choosing anchor points carefully, using momentum, and reaching the candy with fewer wasted pulls.
A compact physics puzzle with short levels and clear object-positioning goals.
Duo Vikings
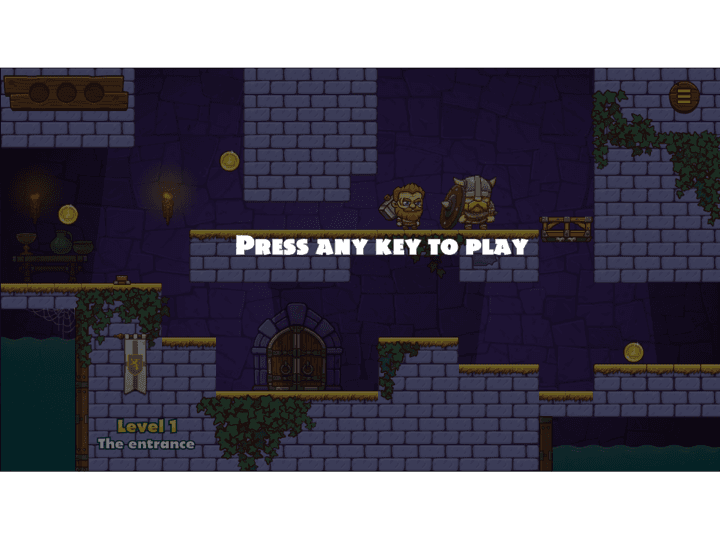
Duo Vikings is a cooperative puzzle platformer where two characters work together through castle rooms full of switches, doors, elevators, breakable blocks, and coins. It is best with a friend, but solo players can still solve levels by controlling both roles carefully.
A room-by-room puzzle platformer that rewards planning switches and character positions.
Drive Mad
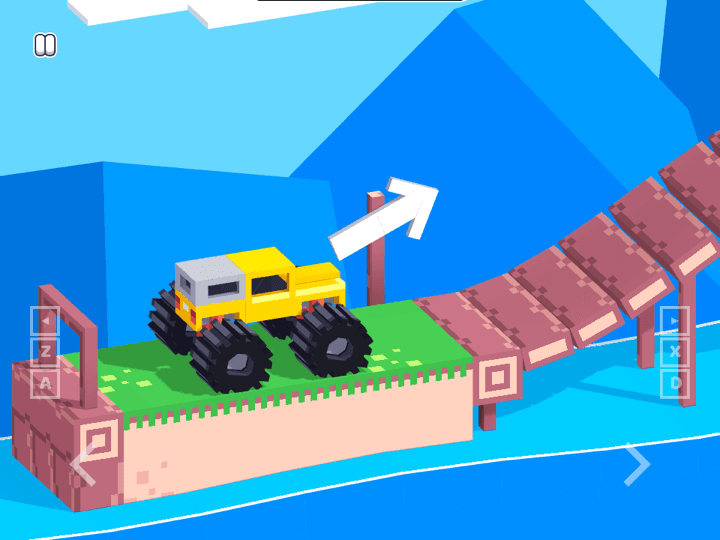
Drive Mad is a physics driving challenge where the hard part is not raw speed. Each level asks you to control throttle, rotation, landing angle, and vehicle balance with very small inputs, so the best runs feel more like careful puzzle solving than racing.
A physics challenge with fast retries when you want execution instead of portal logic.
Frequently Asked Questions
- How many levels are in Telemount?
- The HTML5 build checked by Luma on July 20, 2026 has 15 test chambers after the title room, followed by the winner screen.
- What are the Telemount controls?
- Use the arrow keys to move and push, Z to undo, and R to restart the current chamber. Click the canvas first if the page has keyboard focus.
- How do I skip a level in Telemount?
- Hempuli confirmed Ctrl+Q in the official itch.io comments. It skips rather than solves the chamber, and browser shortcuts may intercept it. Do not use Ctrl+Shift+Q.
- Can I play Telemount on mobile?
- Luma did not find touch controls in the checked build, so this guide treats Telemount as a desktop keyboard game. A phone may display the canvas without providing a usable control scheme.
- Why am I stuck even though both portals are placed?
- One opening probably faces a wall, hazard, or square the player cannot stand on, or a required box has lost its recovery square. Undo until both exits and the next push position are walkable.
Compare Telemount’s portal planning with source-checked browser puzzles that Luma can safely launch.
Related Guides
Official & Reference Links
Use these external links to verify the game source and creator context; they do not imply a commercial partnership with Luma.
- Official Telemount page by Hempuli →
Primary source for the released HTML5 game, creator attribution, update context, player comments, and the developer-confirmed skip command.
- Community full-run video →
Secondary visual reference for checking chamber order and layouts; it is not an official rules source or a Luma-hosted copy.